Brands
Sell several brands? Switch on Sell by brand, add your brands with logos and banners, and give each its own page.
If you stock more than one brand, brands give customers another way to shop — all products by Fabindia — and each brand gets its own page.
Switch brands on#
Brands are off in a new store. To use them:
- Go to Settings → Storefront.
- Under Brands, switch on Sell by brand.
- Select Save changes.
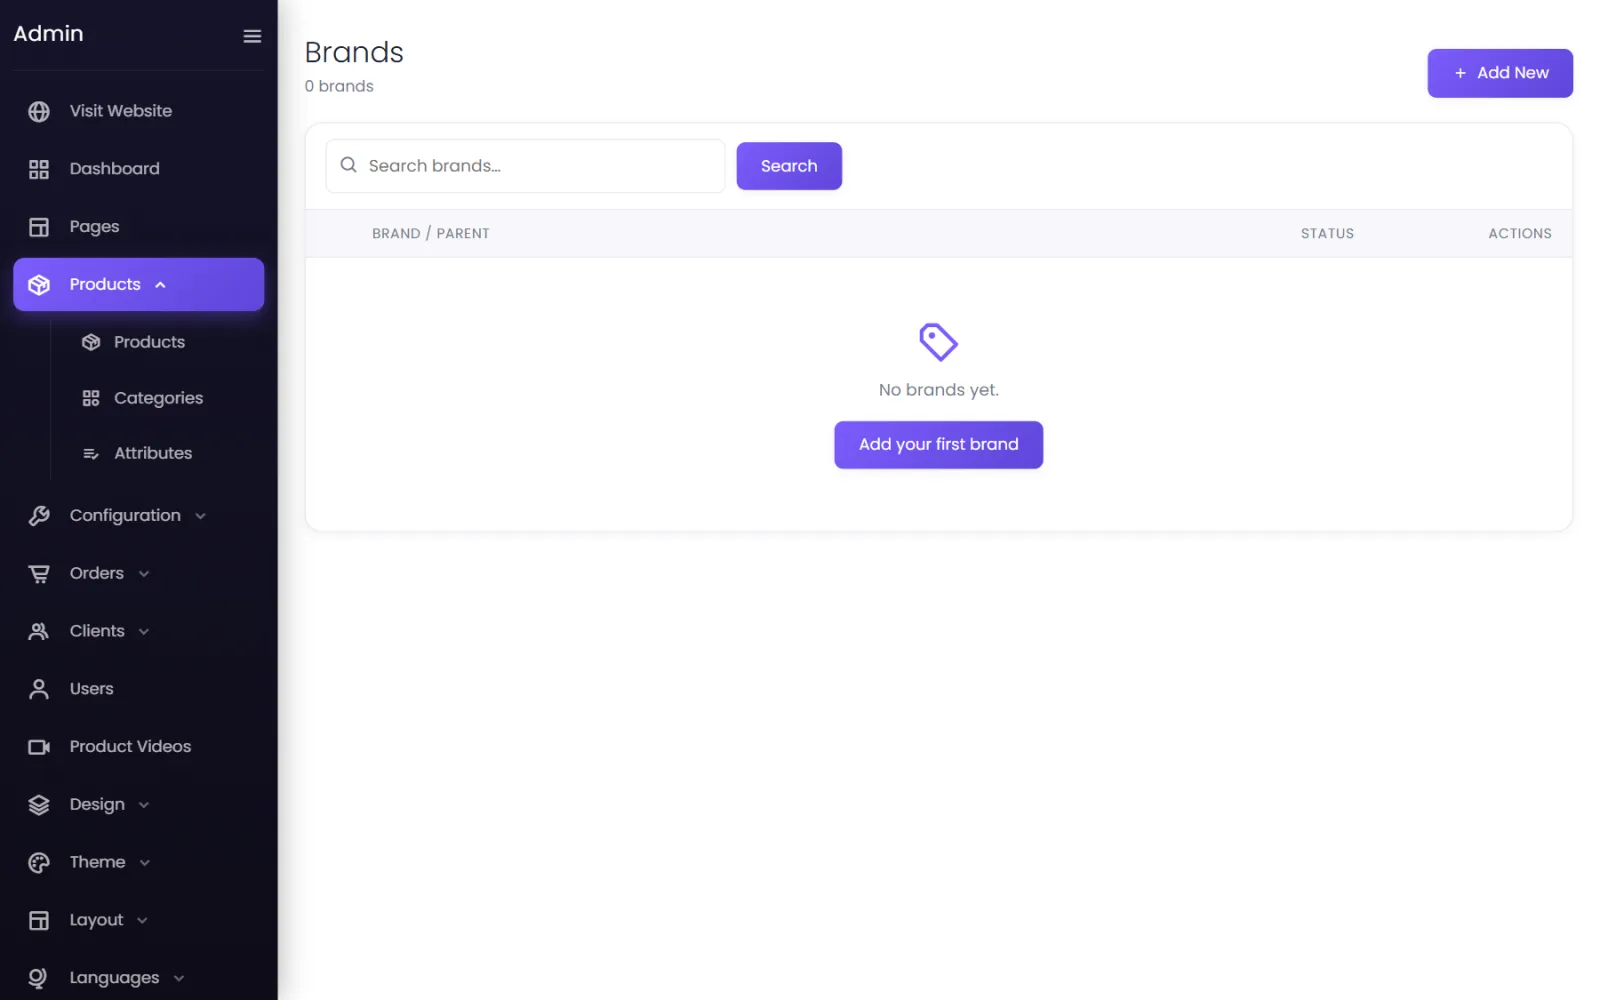
Products → Brands now appears in the menu, and the product form shows a Brands field under Categorisation.
Add a brand#
- Go to Products → Brands and select Add New.
- Fill in:
- Parent Brand — for a sub-brand or product line (Fabindia → Fabindia Home); otherwise leave as Select.
- Title (required) — the brand name. It sets the address:
yourdomain/brands/fabindia. - Description — shown on the brand's page.
- Image — the brand's logo, used on brand cards.
- Banner Type — Image or Video, then upload the banner shown at the top of the brand's page.
- Meta Information — the brand page's own title, description, keywords and custom meta tags for search engines. Fill in all four, including Custom Meta Tags — without it the others are not used.
- Status — Active to show it.
- Select Submit.
Where brands appear#
yourdomain/brandslists your brands;yourdomain/brands/brand-nameshows one brand's products.- The Brands element shows brand cards on any page, and the Products element can show a single brand's products — see Store elements.
- Brand cards follow a design you choose under Design → Brand — see Product, category and brand cards.
Switching brands off again#
Turn Sell by brand off in Settings. Brand pages and the Brands field disappear; your brands are kept, so you can switch back on later.
Was this page helpful?
Something is missing — tell us