- Online store builder
- Settings
- SEO and sharing
SEO and sharing
What your store does for search engines and AI assistants automatically, where to write titles and descriptions, the share image, and getting listed on Google.
What your store does automatically#
- Complete HTML — pages are sent fully rendered, so search engines and AI tools read them without running scripts.
- Clean addresses —
/products/linen-kurta,/categories/kurtas,/blog/how-to-style-a-kurta. - Fast pages — photos converted to WebP on upload.
Where you write titles and descriptions#
| What | Where |
|---|---|
| Pages | Pages → Seo on the page's row: title, description, keywords, custom meta tags — fill in all four (see below). |
| Products | Product form → Content → Meta Information — saved, but not yet used on product pages. See Product SEO. |
| Categories and brands | Their form → Meta Information — fill in all four, including Custom Meta Tags. |
| Blog posts | Blogs → the post's SEO button — fill in every box, including the custom meta tags. |
Write a title of 50–60 characters and a description of up to about 155, in the words your customers search for.
The share image#
Settings → Meta → Add my own meta tags and share image → Meta Image is the picture shown when your store's link is shared on WhatsApp, Facebook or X. Use 1200 × 630 pixels with your logo or a product.
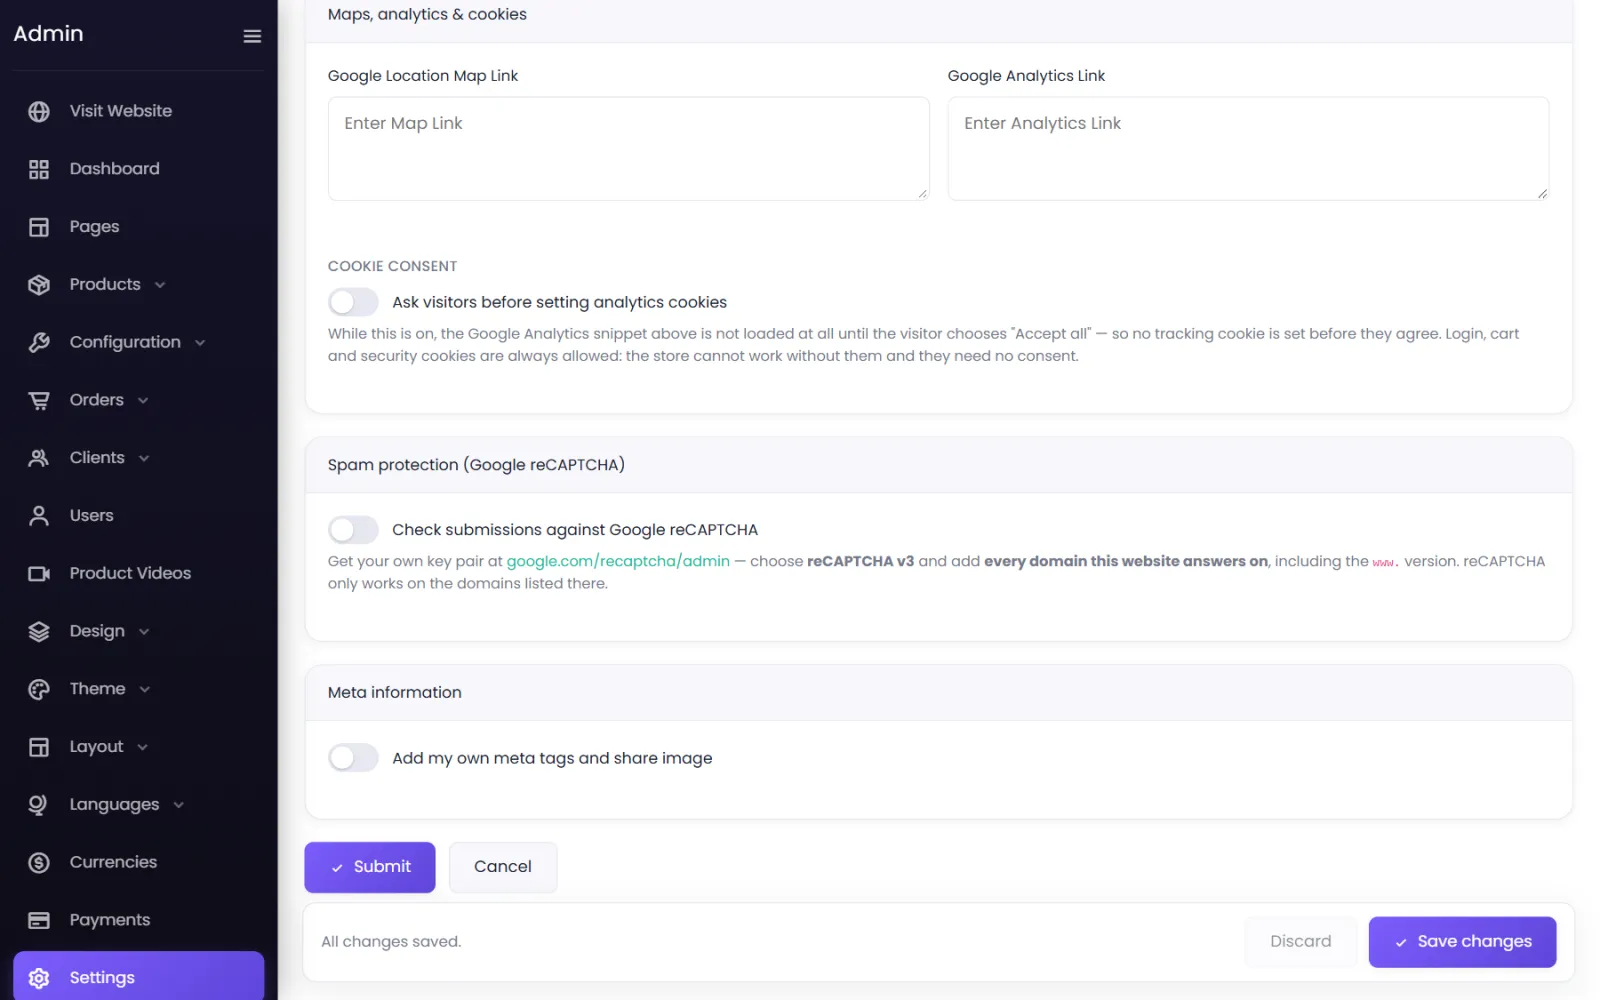
The Meta Data box on the same screen is saved but not currently added to your pages — put verification and other head tags in your home page's Custom Meta Tags instead.
Add robots.txt, a sitemap and llms.txt#
Your store does not create these three files by itself — until you add them, yourdomain/sitemap.xml, /robots.txt and /llms.txt show not found. Add them under Custom Files, at yourdomain/admin/custom-files (the screen is not in the menu — type the address).
- Open
yourdomain/admin/custom-filesand select Add New. - Name — choose robots.txt, sitemap.xml or llms.txt.
- Type — Text to type the content, or File Upload to upload a file.
- Save.
robots.txt — this is enough for most stores:
User-agent: *
Allow: /
Disallow: /admin
Disallow: /checkout
Disallow: /cart
Sitemap: https://www.yourdomain/sitemap.xml
sitemap.xml — the list of your pages, categories and products. Make one with a free sitemap generator (search for XML sitemap generator): give it your store's address, download the sitemap.xml it makes, and upload it with File Upload. Make a new one when you add many products.
llms.txt (optional) — a short plain-text description of your store for AI assistants: who you are, what you sell, where you deliver, and links to your main categories and policy pages.
Get listed on Google#
- Go to Google Search Console and add your store's domain.
- Verify it — with the Domain method (a TXT record at your domain registrar), or the HTML tag method: paste the tag into your home page's Pages → Seo → Custom Meta Tags (with the other three boxes filled in) and save.
- Under Sitemaps, submit
sitemap.xml(after adding it as above).
Google usually starts showing new pages within days. Do the same at Bing Webmaster Tools — Bing also feeds ChatGPT search and Copilot.
Doing well over time#
- Unique descriptions on your products and categories.
- A blog that answers real questions, linking to products.
- Your store's address on your Google Business Profile, Instagram and WhatsApp Business.
- Fast photos — sensible sizes, not 10 MB camera originals.
Was this page helpful?
Something is missing — tell us